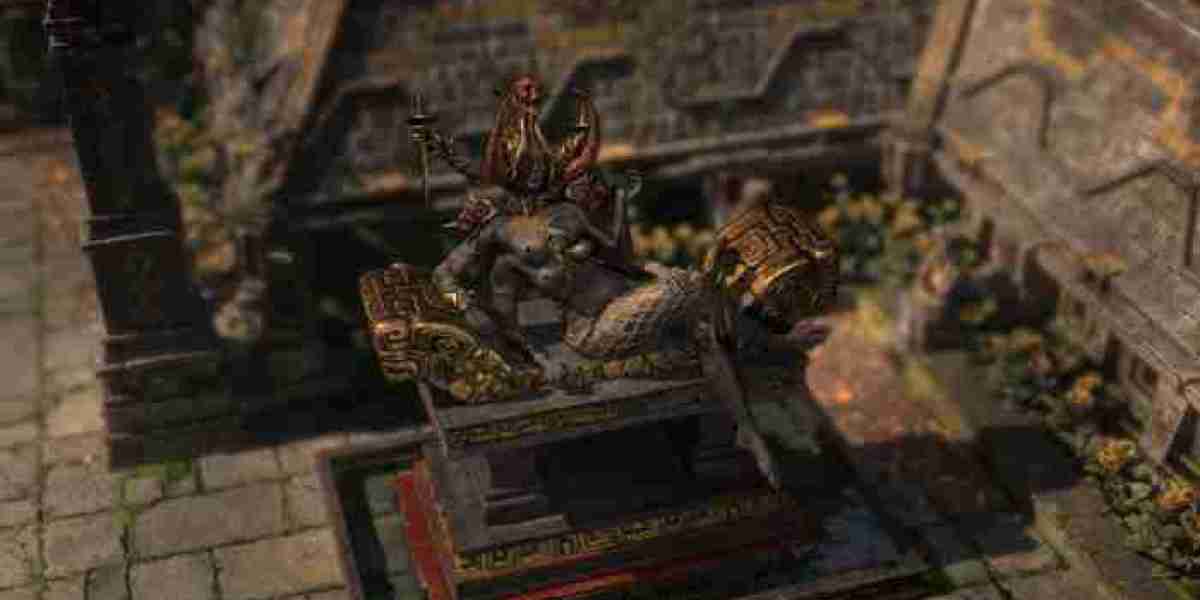

Among Path of Exile 2's specialized support gems, Kaom's Madness stands out because it changes the battlefield rather than simply adding another conventional damage bonus. For players experimenting with melee and ground-based attacks, understanding this gem is essential. Combining it with suitable POE2 Items can further improve a character's ability to survive close-range combat while taking advantage of the extra fissures created by supported skills.
Understanding the Main Effect
Kaom's Madness supports skills that create fissures in the ground. Its defining effect is simple: supported skills create three additional fissures. Instead of relying on a single fissure or ground path, the player can potentially cover much more space with one activation.
That increased coverage is the main reason to use the gem. However, Kaom's Madness comes with meaningful penalties. Supported skills deal 20% less damage, have 20% less skill speed, and have 30% less area of effect. These modifiers make the gem a strategic choice rather than a straightforward damage upgrade.
The support gem requires Strength and is categorized as a Lineage, Attack, and Melee support. It is therefore naturally suited to characters already investing in physical melee combat and related attributes.
Why Fissures Matter
Fissures are valuable because they let melee characters attack enemies through the ground rather than depending entirely on direct contact. This creates interesting opportunities for positioning. A well-placed fissure can travel through groups, threaten enemies approaching from different directions, or provide additional damage zones during difficult encounters.
Kaom's Madness increases this concept dramatically. Three additional fissures mean that a single supported skill can influence a much larger portion of the battlefield.
For mapping, this can be particularly appealing. Regular monsters are frequently scattered across packs, and broader coverage can reduce the amount of movement needed between attacks. Instead of chasing every enemy individually, players can use fissure mechanics to control a wider section of the screen.
Choosing a Skill
Sunder is one of the strongest candidates for players testing Kaom's Madness. It creates a ground fissure that damages enemies along its path, making additional fissures naturally useful for clearing groups. Current build guides also demonstrate Sunder setups using Kaom's Madness specifically for fast map clearing.
Earthshatter is another option. Its fissure and spike mechanics create opportunities for additional ground effects, although players should understand how the support interacts with their complete skill rotation.
Volcanic Fissure is similarly well matched because it already revolves around branching molten fissures. Other compatible skills include Forge Hammer, Molten Crash, Glacial Cascade, Storm Wave, Entangle, Fury of the Mountain, and Starborn Onslaught.
Balancing Damage and Coverage
The biggest mistake with Kaom's Madness is focusing only on the phrase “three additional fissures.” The 20% damage penalty is significant, and the reduction to skill speed can make combat feel slower.
The key question is whether the extra fissures produce enough additional hits or coverage to compensate. Against large monster packs, the answer may often be yes. During boss encounters, however, the value depends heavily on positioning and the mechanics of the chosen skill.
For this reason, many players may prefer to treat Kaom's Madness as part of a mapping setup rather than forcing it into every aspect of their character. A separate single-target skill can handle bosses while the fissure-supported attack handles groups.
Equipment Considerations
Equipment should reinforce the strengths of the build rather than simply chase maximum theoretical damage. Melee characters can benefit from stronger defensive layers because they frequently operate close to enemy attacks. Life, armour, resistances, attack speed, and resource management can all influence the practical performance of a Kaom's Madness build.
The best setup also depends on the chosen skill. A Sunder character may prioritize different offensive modifiers than a build centered around Volcanic Fissure or Glacial Cascade. Players should therefore select equipment after deciding which skill forms the core of the build.
Conclusion
Kaom's Madness offers an unusual way to increase battlefield coverage in Path of Exile 2. Its three additional fissures can make compatible attacks much more effective against groups, but the 20% damage, 20% skill-speed, and 30% area penalties prevent it from being an automatic choice.
The best results come from building around the gem's unique mechanic. Choose a suitable fissure skill, compensate for its weaknesses, and create a balanced character capable of handling both maps and tougher encounters. Once the core strategy is established, you can Path of Exile 2 Orbs for sale that fill remaining equipment gaps and help turn the concept into a more complete build.