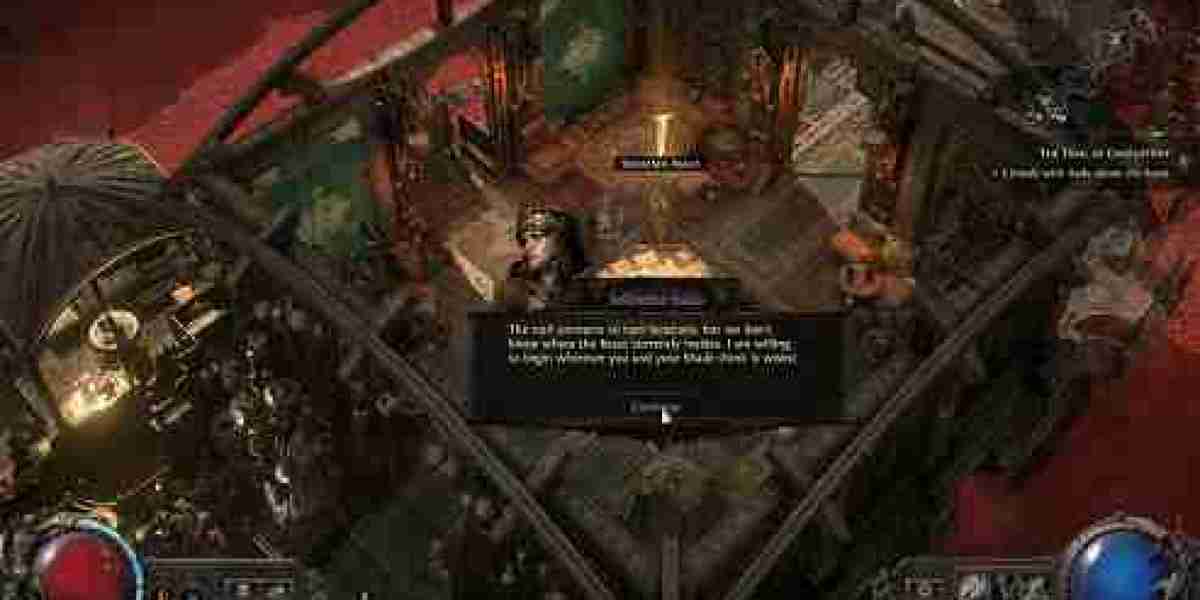

Lightning Spear Gemling Legionnaire is an off-meta choice, but that is part of the appeal. With the right setup, it can move through maps quickly, then switch gears and deal serious boss damage without rebuilding the character around a separate skill. The build ties together Barrage, Frenzy Charges, critical strikes, projectile splitting, and Gemling Legionnaire's support-gem bonuses. It does ask for a bit of planning, especially when you start spending POE 2 Currency on upgrades, but the payoff is a character that feels quick, punchy, and surprisingly capable in late-game content.
Why This Spear Setup Still Holds Up
Lightning Spear has taken a few knocks since its strongest period, so it is easy to assume that the skill has been left behind. That view misses what makes it useful. The skill still covers a wide area, travels well through crowded packs, and can put several projectiles onto a large target. The real difference comes from how the Gemling Legionnaire Ascendancy supports it.
Gemling does not simply add damage to one attack. Instead, it rewards the way you build your socketed skills. Support-gem colours, connected gems, skill requirements, and alternative quality effects all matter. Advanced Thaumaturgy is especially important because it can improve Lightning Spear's splitting behaviour when Frenzy Charges are spent. Against a boss with a large hitbox, those extra projectiles can overlap. You will notice the difference straight away when a single cast starts landing several hits instead of one.
Barrage, Frenzy Charges, and Boss Damage
Barrage is the part of the build that turns a good clearing skill into a credible bossing tool. It repeats supported attacks, and Frenzy Charges can add more repetitions to the sequence. Lightning Spear then splits those attacks into additional projectiles. The interaction is fairly simple in practice: build your charges, position yourself well, and use Barrage when the boss is exposed.
Frenzy Charges are not a minor bonus here. They keep the whole rotation running. Combat Frenzy helps create charges when enemies are frozen, shocked, or pinned, which makes normal mapping feel smooth. Bosses are less generous, though. There are fewer targets, and you cannot rely on constant charge generation. Charge retention therefore becomes a major part of the setup, letting you gain the benefit of charge spending without emptying your supply too quickly. If your charges fall apart during an encounter, both your damage and your rhythm suffer.
Resistance, Mana, and Gem Colour Checks
Rakiata's Flow changes the way enemy elemental resistance behaves, so the usual curse routine needs a rethink. Elemental Weakness can work against your damage in situations where the inversion produces an unwanted result. Sniper's Mark is usually the safer boss option for this version of the build. It supports critical-hit damage and can help with Frenzy Charge generation after a critical strike, giving you both a damage benefit and a practical resource benefit.
Mana is another issue that often appears only after the build looks complete. Barrage support combinations can push the cost much higher than expected, while triggered skills may keep drawing from your mana pool during a long fight. Gem colour distribution matters as well. Swapping one support gem can change the dominant colour in your weapon set and remove a useful Gemling bonus. Whenever you alter the links, check the colour balance again. A setup that looks stronger in a vacuum may feel worse because every cast now costs more.
Mapping, Equipment, and Upgrade Priorities
Mapping is much less demanding than bossing. Bone Shatter helps you move through packs, Lightning Spear clears the group, and you keep moving. There is no reason to use Barrage on every ordinary enemy. That only drains resources and interrupts the fast pace that makes this character enjoyable. The best mapping rhythm is short and practical: enter the pack, fire, reposition, and keep going.
Using two weapon sets makes the character easier to tune. One weapon can support Bone Shatter with attack speed and movement-focused stats, while the spear set is built around Lightning Spear. For the spear, look for physical damage, attack speed, skill levels, critical strike chance, and critical damage. Critical chance deserves real attention because the build relies on consistent critical hits, not occasional lucky bursts. On the rest of your equipment, cover resistances, Energy Shield, life where appropriate, and movement speed before chasing expensive luxury modifiers. For jewels, attack speed, spear damage, critical chance, critical damage, and Energy Shield are sensible targets.
Final Thoughts
This Gemling Legionnaire setup works because its parts support one another. Lightning Spear handles packs, Barrage adds repeated hits for bosses, Frenzy Charges keep the engine active, and the Ascendancy rewards careful gem planning. Headhunter is a strong fit for fast mapping, while Mageblood offers steadier value in pinnacle encounters where there are not enough monsters to maintain stolen bonuses. Start with a reliable spear, manageable mana costs, and consistent charges before chasing premium upgrades. Once the foundation feels stable, put your resources into the weapon and the pieces that improve your actual rotation. If you are building gradually, buy POE 2 Chaos Orbs only when the upgrade solves a clear problem rather than simply carrying a higher price tag.